Add Drive Adapter
Overview
This function adds a Drive Adapter (DA) without stopping the storage system.
After installing a DA for the storage system, activate it via Web GUI.
Perform the start maintenance operation by using the [Start/End Maintenance] function before adding a DA. If the operation has not been performed, addition cannot be started.
Be sure to use authorized additional parts. If parts other than the additional parts are used, operation is not guaranteed.
Only one DA can be added at a time.
- This function cannot be used under the following conditions:
The status of the DA that is to be added or the CM to which the target DA belongs is not normal
No DA is added to the expansion target slot
Display Contents
The following screens are displayed by the wizard.

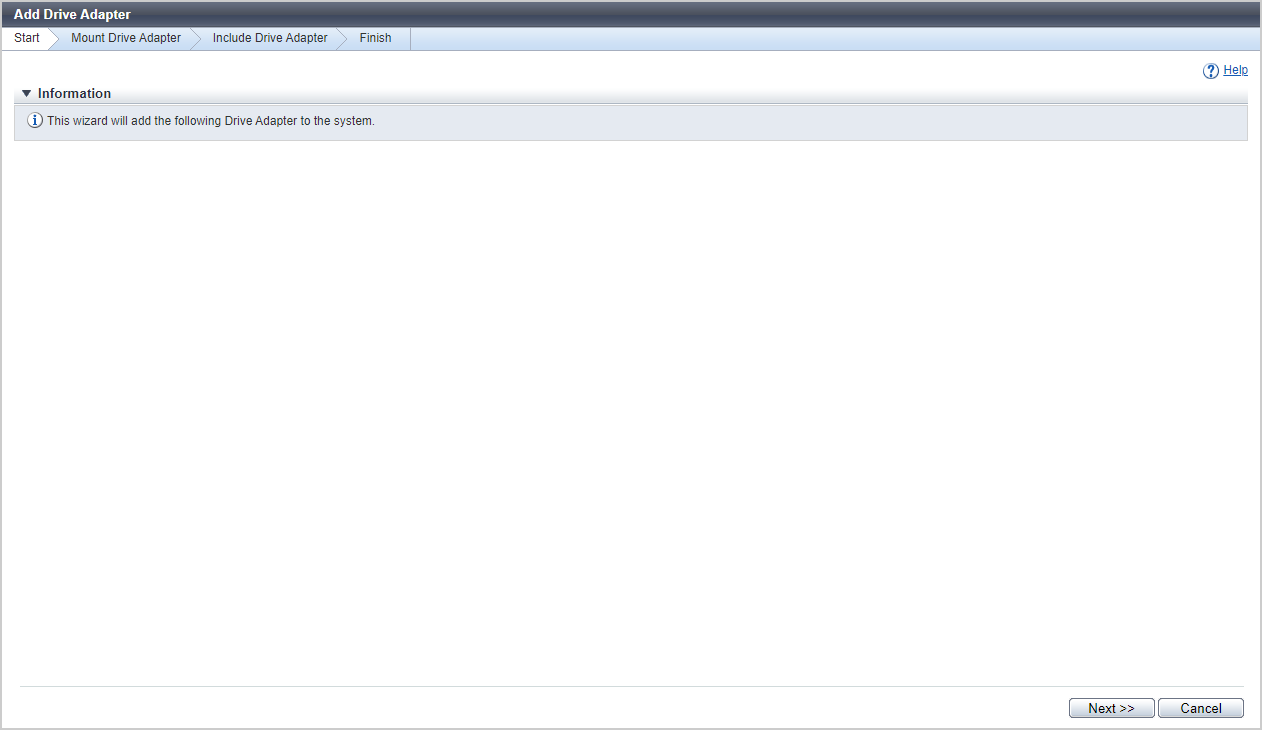
[Start] Screen
A message that indicates the start of DA expansion appears.
[Workflow] Screen
The procedure to install a DA is displayed. Install a DA according to the displayed procedure.
[Get Status] Screen
The progress rate of status confirmation for the added DA is displayed.
| Item | Description |
|---|---|
Progress |
The progress rate (0 to 100 %) of the status check is displayed. |
[Select DA] Screen
Select the added DA.
| Item | Description |
|---|---|
Radio button |
Select the added DA. |
Enclosure |
The CE number is displayed to determine the CM that is installed with a DA. This is displayed for the ETERNUS DX900 S6 or the ETERNUS DX8900 S6. CE#n |
CM |
The CM number to which the DA belongs is displayed. CM#n |
DA |
The DA number is displayed. DA#n |
Type |
The DA type is displayed. |
[Status Check] Screen
The progress rate for the activation processing of the added DA is displayed.
Status Check
| Item | Description |
|---|---|
Enclosure |
The CE number is displayed to determine the CM that is installed with the added DA. This is displayed for the ETERNUS DX900 S6 or the ETERNUS DX8900 S6. CE#n |
CM |
The CM number to which the DA has been added is displayed. CM#n |
DA |
The added DA number is displayed. DA#n |
Type |
The DA type is displayed. |
Progress |
The progress rate (0 to 100 %) of the status check is displayed. |
Status |
The DA status is displayed. |
[Finish] Screen
A message indicating that the DA was added successfully is displayed.
Operating Procedures
Click [Add Drive Adapter] in [Action].
→ The [Start] Screen appears.
Click the [Next >>] button.
→ The [Workflow] Screen appears.
Add the DA according to the displayed procedure and click the [Next >>] button.
→ The status check of the added DA starts, and the [Get Status] Screen appears. When the status check is complete, the [Select DA] Screen appears.
Select the added DA, and click the [Next >>] button.
→ The [Status Check] Screen appears. When the status check is complete, the [Finish] Screen appears.
Click the [Done] button to return to the [Drive Adapter] screen.


