


Remove Drive Adapter
Overview
This function removes a Drive Adapter (DA) without stopping the storage system.
After isolation of the DA to be removed and the controller module (CM) in which the DA is installed, the DA is removed from the storage system.
Perform the start maintenance operation by using the [Start/End Maintenance] function before the removing task. If the operation has not been performed, the removal cannot be started.
Only one DA can be removed at a time.
- This function cannot be used under the following conditions:
The status of the CM where the removal target DA belongs is not normal
No DAs are installed
The DA that is to be removed is connected to the DE.
Display Contents
The following screens are displayed by the wizard.
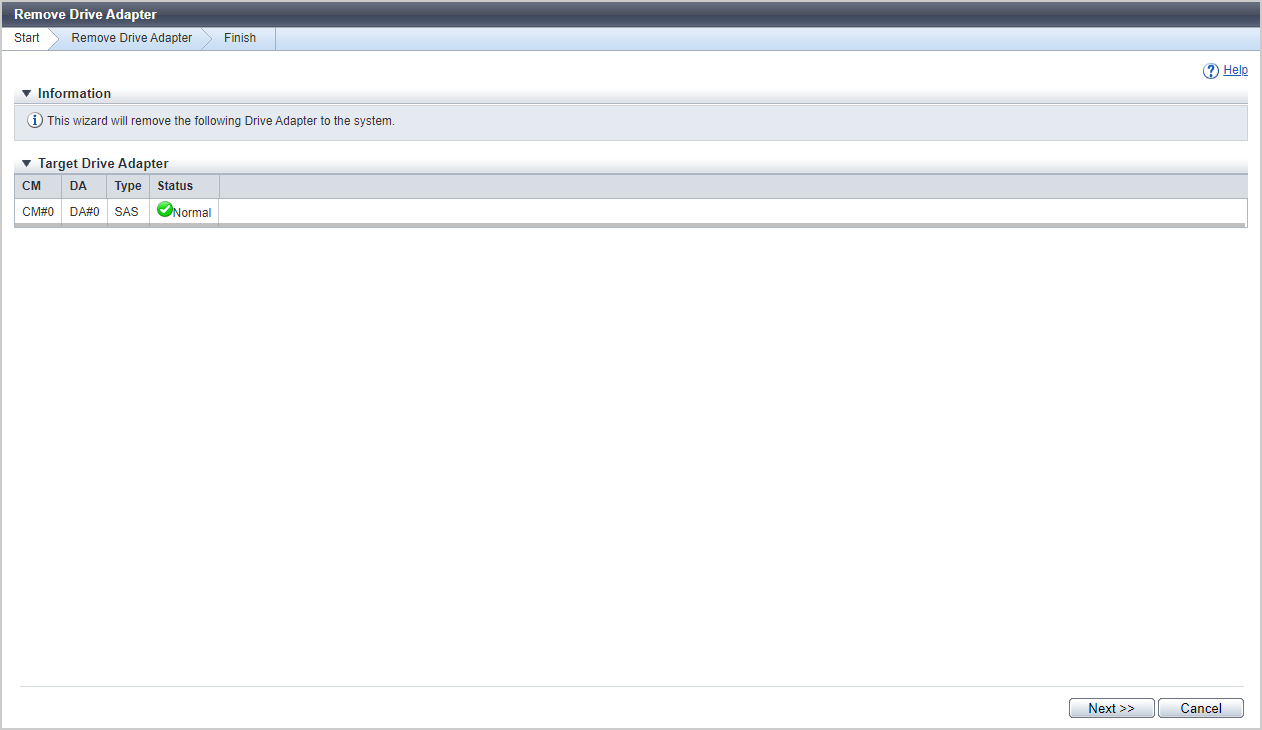
[Start] Screen
The DA that is to be removed is displayed.
| Item | Description |
|---|---|
|
Enclosure |
The CE number is displayed to determine the CM that is installed with the DA to be removed. This is displayed for the ETERNUS DX900 S6 or the ETERNUS DX8900 S6. CE#n |
|
CM |
The CM number to which the DA that is to be removed belongs is displayed. CM#n |
|
DA |
The DA number that is to be removed is displayed. DA#n |
|
Type |
The DA type is displayed. |
|
Status |
The DA status is displayed. |
[Status Check] Screen
The status of the DA and the progress rate of isolating the DA are displayed.
Status Check
| Item | Description |
|---|---|
|
Enclosure |
The CE number is displayed to determine the CM that is installed with the DA to be removed. This is displayed for the ETERNUS DX900 S6 or the ETERNUS DX8900 S6. CE#n |
|
CM |
The CM number to which the DA that is to be removed belongs is displayed. CM#n |
|
DA |
The DA number that is to be removed is displayed. DA#n |
|
Progress |
The progress rate (0 to 100 %) of isolating the DA is displayed. |
|
Status |
The DA status is displayed. |
[Finish] Screen
The DA removal procedure is displayed on this screen. Remove the DA according to the displayed procedure.
Operating Procedures
Select the DA that is to be removed, and click [Remove Drive Adapter] in [Action].
→ The [Start] Screen appears.
Check the DA to be removed, and click the [Next >>] button.
→ DA isolation starts, and the [Status Check] Screen appears.
When isolation of the DA is complete, the [Finish] Screen appears.
Remove the DA according to the displayed procedure.
Click the [Done] button to return to the [Drive Adapter] screen.