


RAID Group
This section explains RAID groups.
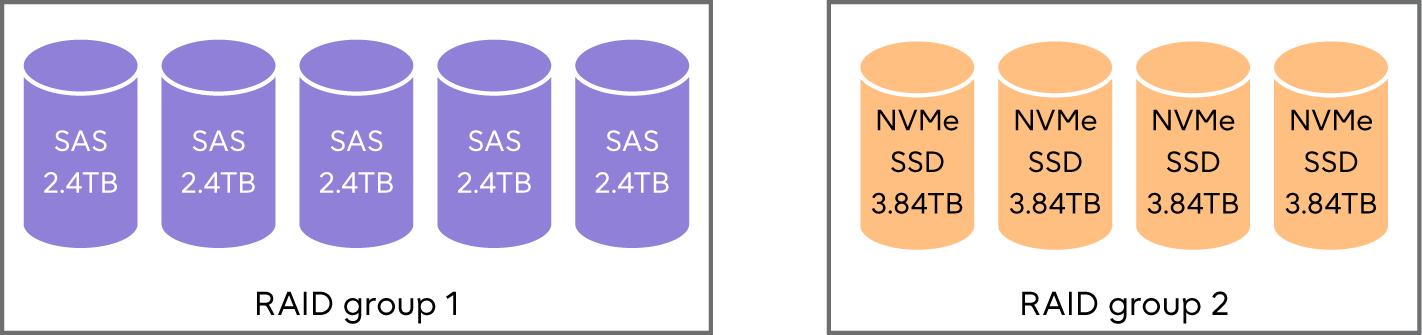
A RAID group is a group of drives. It is a unit that configures RAID. Multiple RAID groups with the same RAID level or multiple RAID groups with different RAID levels can be set together in the ETERNUS DX. After a RAID group is created, RAID levels can be changed and drives can be added.
Type |
Usage |
Maximum capacity |
|
|---|---|---|---|
Per RAID group |
Per ETERNUS DX |
||
RAID group |
Areas to store normal data. Volumes (Standard, WSV, SDV, SDPV) for work and Advanced Copy can be created in a RAID group. |
Approximately 711TB (*1) |
Depends on the number of installable drives |
REC Disk Buffer |
Areas that are dedicated for the REC Consistency mode to temporarily back up copy data. |
Approximately 109TB (*2) |
Approximately 218TB (*3) Approximately 436TB (*4) Approximately 654TB (*5) |
Thin Provisioning Pool (TPP) (*6) |
TPP is an area configured with RAID groups that are used for Thin Provisioning. Thin Provisioning Volumes (TPVs) can be created in a TPP. |
96PB (DX600 S6) (*8) 512PB (DX900 S6, DX8900 S6) (*8) |
|
Flexible Tier Sub Pool (FTSP) (*7) |
FTSP is an area configured with RAID groups that are used for Flexible Tier. Larger pools (Flexible Tier Pools: FTRPs) are comprised by layers of FTSPs. Flexible Tier Volumes (FTVs) can be created in an FTSP. |
||
| *1 | : |
This value is for a 30.72TB SAS SSD RAID6-FR ((13D+2P)×2+1HS) configuration. For details on the number of configuration drives for each RAID level and recommended configurations, refer to Table: Number of Drives to Configure and the Recommended Number of Drives per RAID Group. |
| *2 | : | This value is for a 30.72TB SAS SSD RAID1+0 (4D+4M) configuration. |
| *3 | : | This value is for a 30.72TB SAS SSD RAID1+0 (4D+4M) configuration in the ETERNUS DX600 S6. Up to two REC Disk Buffers can be installed for each ETERNUS DX. |
| *4 | : | This value is for a 30.72TB SAS SSD RAID1+0 (4D+4M) configuration in the ETERNUS DX900 S6. Up to four REC Disk Buffers can be installed for each ETERNUS DX. |
| *5 | : | This value is for a 30.72TB SAS SSD RAID1+0 (4D+4M) configuration in the ETERNUS DX8900 S6. Up to six REC Disk Buffers can be installed for each ETERNUS DX. |
| *6 | : | For details on the number of configuration drives for each RAID level and recommended configurations, refer to Table: Levels and Configurations for a RAID Group That Can Be Registered in a TPP. |
| *7 | : | For details on the number of configuration drives for each RAID level and recommended configurations, refer to Table: Levels and Configurations for a RAID Group That Can Be Registered in an FTSP. |
| *8 | : | The numerical value is the maximum amount per ETERNUS DX for the total of the Thin Provisioning Pool capacity and the FTSP capacity. The maximum capacity of each pool is 48PB. |
The same size drives (2.5" or 3.5"), the same kind of drives (NVMe SSDs, SAS SSDs, SAS disks, Nearline SAS disks, or SEDs), and the same capacity drives must be used to configure a RAID group.
SAS disks and Nearline SAS disks can be installed together in the same group. Note that SAS disks and Nearline SAS disks cannot be installed with NVMe SSDs, SAS SSDs or SEDs.
Use drives that have the same size, capacity, rotational speed (for disks), and Advanced Format support to configure RAID groups.
If a RAID group is configured with drives that have different capacities, all the drives in the RAID group are recognized as having the same capacity as the drive with the smallest capacity in the RAID group and the rest of the capacity in the drives that have a larger capacity cannot be used.
If a RAID group is configured with drives that have different rotational speeds, the performance of all of the drives in the RAID group is reduced to that of the drive with the lowest rotational speed.
For details on the RAID levels that can be configured with Nearline SAS disks that have 8TB or more, refer to Supported RAID.
Table: Number of Drives to Configure and the Recommended Number of Drives per RAID Group shows the recommended number of drives that configure a RAID group.
RAID level |
Number of configuration drives |
Recommended number of drives (*1) |
|---|---|---|
RAID0 |
2 – 16 |
— |
RAID1 |
2 |
2(1D+1M) |
RAID1+0 |
4 – 32 |
4(2D+2M), 6(3D+3M), 8(4D+4M), 10(5D+5M) |
RAID5 |
3 – 16 |
3(2D+1P), 4(3D+1P), 5(4D+1P), 6(5D+1P) |
RAID5+0 |
6 – 32 |
3(2D+1P) × 2, 4(3D+1P) × 2, 5(4D+1P) × 2, 6(5D+1P) × 2 |
RAID6 |
5 – 16 |
5(3D+2P), 6(4D+2P), 7(5D+2P) |
RAID6-FR |
11 – 31 |
17 ((6D+2P) × 2 + 1HS) |
| *1 | : | D = Data, M = Mirror, P = Parity, HS = Hot Spare |
Sequential access performance hardly varies with the number of drives for the RAID group.
Random access performance tends to be proportional to the number of drives for the RAID group.
Use of higher capacity drives will increase the time required for the drive rebuild process to complete.
For RAID5, RAID5+0, and RAID6, ensure that a single RAID group is not being configured with too many drives.
If the number of drives increases, the time to perform data restoration from parities and Rebuild/Copyback when a drive fails also increases.
For details on the recommended number of drives, refer to Table: Number of Drives to Configure and the Recommended Number of Drives per RAID Group.
The RAID level that can be registered in REC Disk Buffers is RAID1 or RAID1+0. For RAID1+0, the drive configuration is 2D+2M or 4D+4M.
For details on the Thin Provisioning function and the RAID configurations that can be registered in Thin Provisioning Pools, refer to Storage Capacity Virtualization.
For details on the Flexible Tier function and the RAID configurations that can be registered in Flexible Tier Pools, refer to Automated Storage Tiering.
An assigned CM is allocated to each RAID group. For details, refer to Assigned CMs.
For the installation locations of the drives that configure the RAID group, refer to Recommended RAID Group Configuration.