


Add Channel Adapter
Overview
This function adds a Channel Adapter (CA) without stopping the storage system.
After installing a CA for the storage system, activate it via Web GUI.
Perform the start maintenance operation by using the [Start/End Maintenance] function before adding a CA. If the operation has not been performed, addition cannot be started.
Be sure to use authorized additional parts. If parts other than the additional parts are used, operation is not guaranteed.
Only one CA can be added at a time.
When the storage system is a 1CM model, mount the CA that is to be added into the CM in advance. (For the ETERNUS DX100 S5/DX200 S5)
- This function cannot be used under the following conditions:
The status of the CA that is to be added or the CM to which the target CA belongs is not normal
- The maximum number of CAs specified for the model have already been installed
For the ETERNUS DX60 S5: 1 per CM (All CAs are directly installed in the CM.)
For the ETERNUS DX100 S5/DX200 S5 and the ETERNUS AF150 S3/AF250 S3: Up to two CAs per CM
For the ETERNUS DX500 S5: Up to two CAs per CM
For the ETERNUS DX600 S5/DX900 S5, the ETERNUS DX8900 S4, and the ETERNUS AF650 S3: Up to four CAs per CM
For the ETERNUS DX8100 S4: Up to two CAs per CM
No CA is added to the expansion slot
The minimum port type CA (*1) is installed in the storage system
*1 : CAs with the minimum number of ports that can be installed in the ETERNUS DX100 S5. 1-port types and 2-port types are available.
When the minimum port type CA is used, first add a port and then perform this function. Refer to the [Add Channel Adapter Port] function for details.
User Privileges
Availability of Executions in the Default Role
| Default role | Availability of executions |
|---|---|
| Monitor | |
| Admin | |
| StorageAdmin | |
| AccountAdmin | |
| SecurityAdmin | |
| Maintainer |
Refer to "User Roles and Policies" for details on the policies and roles.
Display Contents (for the ETERNUS DX100 S5/DX200 S5 or the ETERNUS AF150 S3/AF250 S3)
The following screens are displayed by the wizard.
[Start] Screen
A message that indicates the start of CA expansion appears.
[Select CA] Screen
Select the CA that is to be added.
| Item | Description |
|---|---|
|
Radio button |
Select the CA that is to be added. |
|
CM |
The CM number to which the CA is added is displayed. CM#x x: CM number |
|
CA |
The CA number is displayed. CA#x x: CA number |
[Test Connection] Screen
This screen is displayed when the CM to which the CA is added is a Master CM.
Follow the displayed procedure to confirm that the new Master CM is connected to a LAN.
Function Button
| Button | Description |
|---|---|
[Test Connection] |
Click this button after confirming that the new Master CM is connected to a LAN. The connection status of the new Master CM and the LAN is checked. |
[Test Connection Result] Screen
This screen is displayed when the CM to which the CA is added is a Master CM.
The connection status check result of the new Master CM and the LAN is displayed.
Function Button
| Button | Description |
|---|---|
[Test Connection] |
If connection has failed, reconfirm the new Master CM is connected to a LAN, and click this button. The connection status of the new Master CM and the LAN is checked again. |
[Resume Processing] |
Click this button when connection was successful. Isolation of the CM starts. |
[Isolate CM] Screen
The progress rate of isolating the CM is displayed.
| Item | Description |
|---|---|
CM |
The CM number to which the CA is added is displayed. CM#x x: CM number |
Progress |
The progress rate (0 to 100 %) of isolating the CM is displayed. |
Status |
The CM status is displayed. |
[Workflow] Screen
The procedure to install a CA is displayed. Install a CA according to the displayed procedure.
[Status Check] Screen
The progress rate for the activation processing of the added CA is displayed.
Status Check
| Item | Description |
|---|---|
CM |
The CM number to which the CA has been added is displayed. CM#x x: CM number |
CA |
The added CA number is displayed. CA#x x: CA number |
Progress |
The progress rate (0 to 100 %) of the status check is displayed. |
Status |
The CA status is displayed. |
Type |
The CA type is displayed. |
[Finish] Screen
A message that indicates the CA is added successfully is displayed.
Display Contents (For the ETERNUS DX500 S5/DX600 S5/DX900 S5, the ETERNUS DX8100 S4/DX8900 S4, or the ETERNUS AF650 S3)
The following screens are displayed by the wizard.
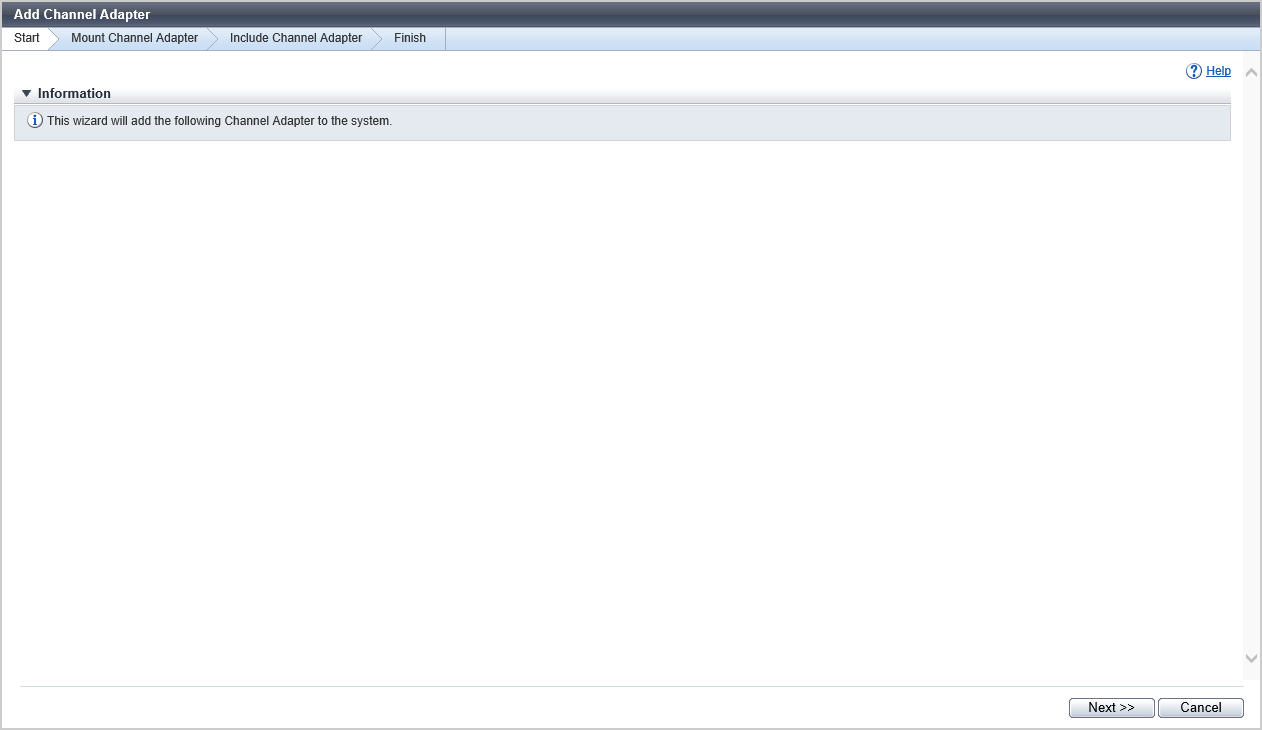
[Start] Screen
A message that indicates the start of CA expansion appears.
[Workflow] Screen
The procedure to install a CA is displayed. Install a CA according to the displayed procedure.
[Get Status] Screen
The progress rate of status confirmation for the added CA is displayed.
| Item | Description |
|---|---|
|
Progress |
The progress rate (0 to 100 %) of the status check is displayed. |
[Select CA] Screen
Select the added CA.
| Item | Description |
|---|---|
|
Radio button |
Select the added CA. |
|
Enclosure |
The CE number is displayed to determine the CM that is installed with a CA. This is displayed for the ETERNUS DX900 S5 or the ETERNUS DX8900 S4. CE#x x: CE number |
|
CM |
The CM number to which the CA belongs is displayed. CM#x x: CM number |
|
CA |
The CA number is displayed. CA#x x: CA number |
|
Type |
The CA type is displayed. |
[Status Check] Screen
The progress rate for the activation processing of the added CA is displayed.
Status Check
| Item | Description |
|---|---|
|
Enclosure |
The CE number is displayed to determine the CM that is installed with the added CA. This is displayed for the ETERNUS DX900 S5 or the ETERNUS DX8900 S4. CE#x x: CE number |
|
CM |
The CM number to which the CA has been added is displayed. CM#x x: CM number |
|
CA |
The added CA number is displayed. CA#x x: CA number |
|
Progress |
The progress rate (0 to 100 %) of the status check is displayed. |
|
Status |
The CA status is displayed. |
[Finish] Screen
A message that indicates the CA is added successfully is displayed.
Operating Procedures
For the ETERNUS DX100 S5/DX200 S5 or the ETERNUS AF150 S3/AF250 S3
Click [Add Channel Adapter] in [Action].
→ The [Start] Screen appears.
Click the [Next >>] button.
→ The [Select CA] Screen appears.
Select the CA that is to be added, and click the [Next >>] button.
→ The operations to be started and the displayed screen vary depending on the conditions as follows.
When it is a 1CM model
→ The CA activation starts, and the [Status Check] Screen appears. After the CA activation is complete, the [Finish] Screen appears. Proceed to Step 8.
When it is a 2CM model and CM to which a CA is added is a Master CM
→ The Master CM is switched, and the [Test Connection] Screen appears. Proceed to Step 4.
When it is a 2CM model and CM to which a CA is added is a Slave CM
→ CM isolation starts, and the [Isolate CM] Screen appears. When the CM isolation is complete, the [Workflow] Screen appears. Proceed to Step 7.
Follow the displayed procedure to confirm that the new Master CM is connected to a LAN.
After confirming the connection, click the [Test Connection] button.
→ The [Test Connection Result] Screen appears.
Confirm the connection status check result, and click the [Resume Processing] button.
→ CM isolation starts, and the [Isolate CM] Screen appears. When the CM isolation is complete, the [Workflow] Screen appears.
CautionIf the connection of the new Master CM and the LAN fails, check the connection status again and return to Step 5.
Install a CA according to the displayed procedure. When the installation is complete, click the [Next >>] button.
→ The CA activation starts, and the [Status Check] Screen appears. After the CA activation is complete, the [Finish] Screen appears.
Click the [Done] button to return to the [Channel Adapter] screen.
For the ETERNUS DX500 S5/DX600 S5/DX900 S5, the ETERNUS DX8100 S4/DX8900 S4, or the ETERNUS AF650 S3
Click [Add Channel Adapter] in [Action].
→ The [Start] Screen appears.
Click the [Next >>] button.
→ The [Workflow] Screen appears.
Add the CA according to the displayed procedure and click the [Next >>] button.
→ The status check of the added CA starts, and the [Get Status] Screen appears. When the status check is complete, the [Select CA] Screen appears.
Select the added CA, and click the [Next >>] button.
→ The [Status Check] Screen appears. When the status check is complete, the [Finish] Screen appears.
Click the [Done] button to return to the [Channel Adapter] screen.