


Remove Disk Drive
Overview
This function logically isolates a drive without stopping the storage system.
After the target drive is isolated, remove the drive from the storage system.
Perform the start maintenance operation by using the [Start/End Maintenance] function before the removing task. If the operation has not been performed, the removal cannot be started.
Up to 8 drives can be removed at a time.
- This function cannot be used under the following conditions:
The drive that is to be removed is currently being used
The status of the drive to be removed is not "Present" or "Broken"
The [Add Drive Enclosure] function is being performed
The drive enclosure is blocked
User Privileges
Availability of Executions in the Default Role
| Default role | Availability of executions |
|---|---|
| Monitor | |
| Admin | |
| StorageAdmin | |
| AccountAdmin | |
| SecurityAdmin | |
| Maintainer |
Refer to "User Roles and Policies" for details on the policies and roles.
Display Contents
The following screens are displayed by the wizard.
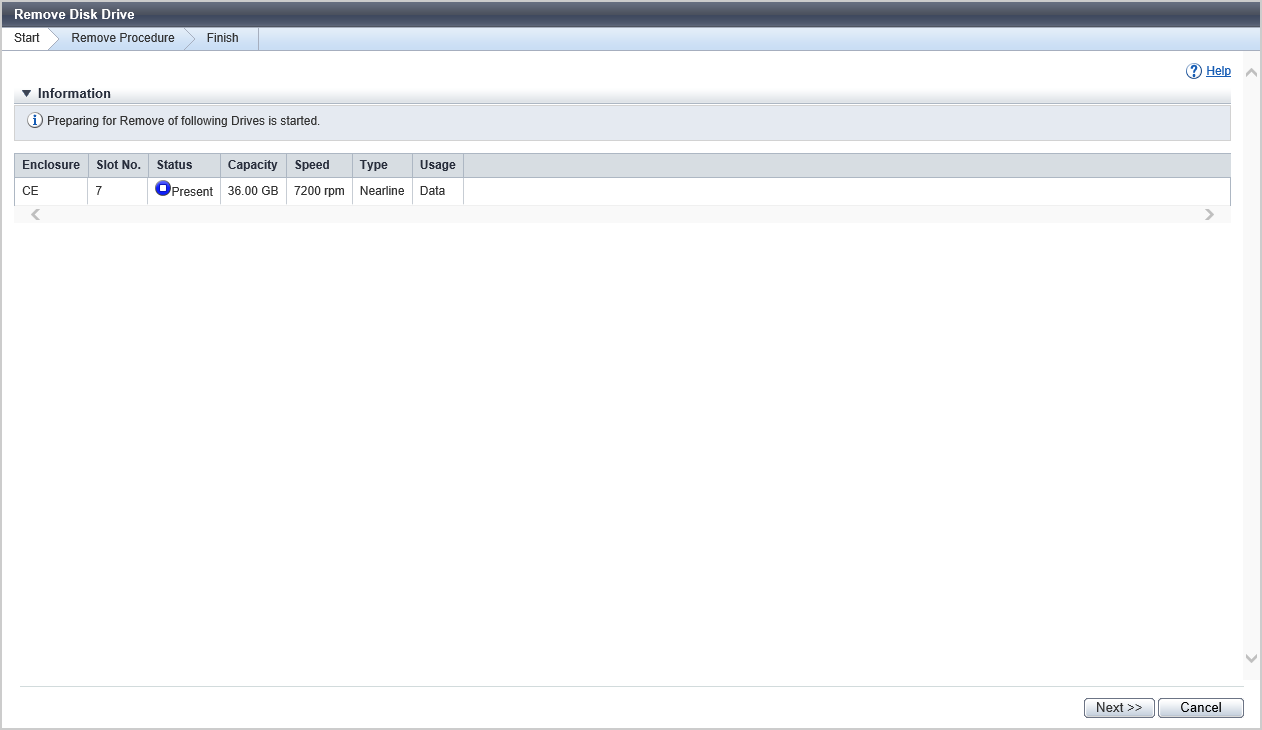
[Start] Screen
The drive that is to be removed is displayed.
| Item | Description |
|---|---|
|
Enclosure |
The enclosure where the drive is installed is displayed. CE: Controller Enclosure (2.5" and 3.5") DE: Drive Enclosure (2.5", 3.5", and 3.5" high density DEs) CE CE#x DE#yy x: CE number yy: DE number |
|
Slot No. |
The slot number of the enclosure where the drive is installed is displayed. |
|
Status |
The drive status is displayed. Refer to "Drive Status" for details. |
|
Capacity |
The capacity of the drive is displayed. |
|
Speed |
The drive speed is displayed. For SSD or SSD SED, a "-" (hyphen) is displayed. 15000 rpm 10000 rpm 7200 rpm |
|
Type |
The drive type is displayed. |
|
Usage |
The usage of the drive is displayed. Data |
[Isolation Progress] Screen
The status of the drive and the progress rate of isolating the drive are displayed.
Status Check
| Item | Description |
|---|---|
|
Enclosure |
The enclosure where the drive is installed is displayed. CE CE#x DE#yy x: CE number yy: DE number |
|
Slot No. |
The slot number of the enclosure where the drive is installed is displayed. 2.5" CE/DE: 0 - 23 3.5" CE/DE: 0 - 11 3.5" high density DE: 0 - 59 |
|
Progress |
The progress rate (0 to 100 %) of isolating the drive is displayed. |
|
Status |
The drive status is displayed. Refer to "Drive Status" for details. |
[Finish] Screen
The drive removal procedure is displayed on this screen. Remove the drive according to the displayed procedure.
The drive that is to be removed is displayed in "Information" area.
Operating Procedures
Select the drives that are to be removed (up to 8 drives can be selected), and click [Remove Disk Drive] in [Action].
→ The [Start] Screen appears.
Check the drives that are to be removed, and click the [Next >>] button.
→ Drive isolation starts, and the [Isolation Progress] Screen appears.
When the drive isolation is complete, the [Finish] Screen appears.
Remove the drive according to the displayed procedure.
Click the [Done] button to return to the [Drives] screen.