


Add Channel Adapter Port
Overview
This function enables a Channel Adapter (CA) port to be added without stopping the storage system.
Perform the start maintenance operation by using the [Start/End Maintenance] function before adding a CA port. If the operation has not been performed, addition cannot be started. Note that when the user has the "Storage Management" policy, start maintenance operation is not required.
-
CA ports can be added for FC, iSCSI, SAS, or NAS host interfaces.
- This function cannot be used under the following conditions:
The general status of the storage system is not "Normal"
-
The minimum port type CA (*1) is not installed in the storage system
*1 : CAs with the minimum number of ports that can be installed in the ETERNUS DX60 S5/DX100 S5. 1-port types or 2-port types are available.
This function is available only when the ETERNUS DX60 S5/DX100 S5 has a minimum port type CA. Input the license key for each host interface with the minimum port type, and then add the port.
- The following examples explain how the minimum port type CAs are displayed. Refer to the [Channel Adapter] function for details.
For 1-port type
"2port" is displayed as the port type in the [Channel Adapter] screen. However, only one port is displayed in the [Internal Parts] tab of the [Channel Adapter Detail] screen.
For 2-port type
"4port" is displayed as the port type in the [Channel Adapter] screen. However, only two ports are displayed in the [Internal Parts] tab of the [Channel Adapter Detail] screen.
User Privileges
Availability of Executions in the Default Role
| Default role | Availability of executions |
|---|---|
| Monitor | |
| Admin | |
| StorageAdmin | |
| AccountAdmin | |
| SecurityAdmin | |
| Maintainer |
Refer to "User Roles and Policies" for details on the policies and roles.
Display Contents
The following screens are displayed by the wizard.
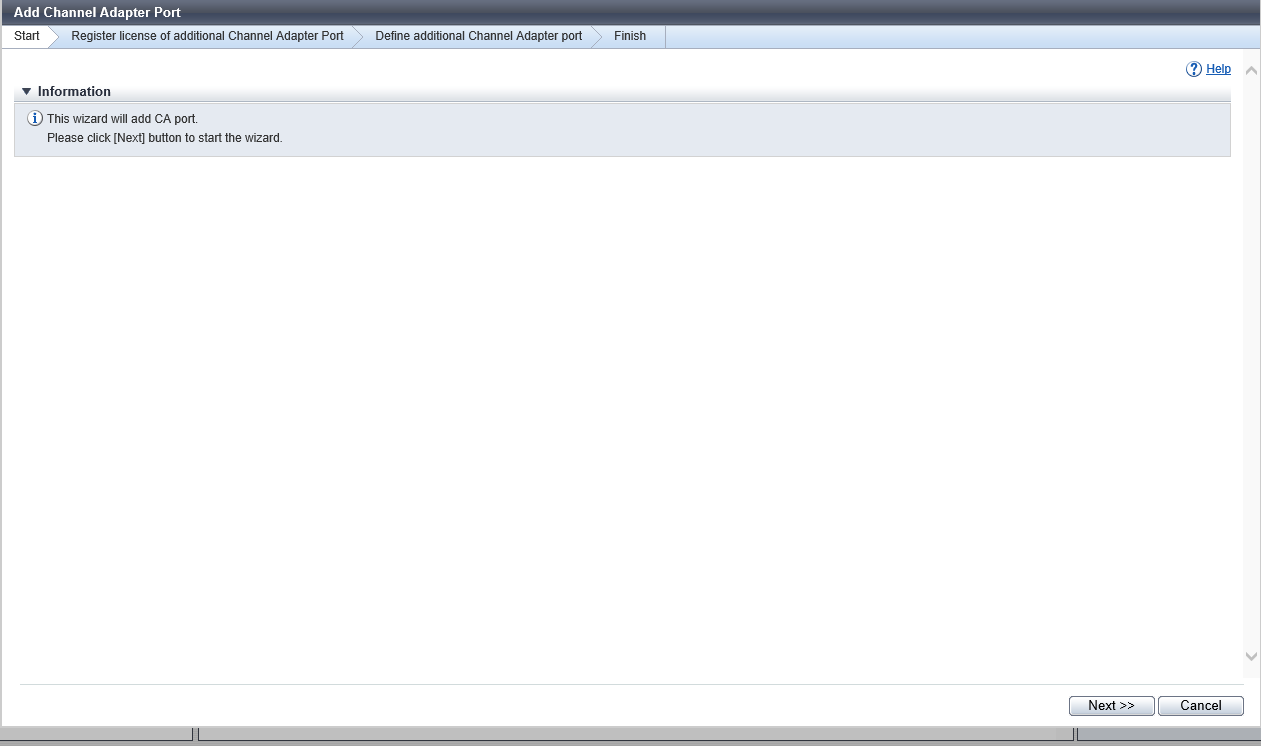
[Start] Screen
A message that indicates the start of CA port expansion appears.
[Register license of additional Channel Adapter Port] Screen
This screen is displayed when the license key is not registered yet.
Input the license key.
| Item | Description | Setting values |
|---|---|---|
License Key |
Input the license key. |
16 capital letters and numeric characters |
[Set License Key] Screen
The registration progress of the license key is displayed.
[Workflow] Screen
The procedure to add a CA port is displayed. Add a CA port according to the displayed procedure.
[Check SFP Installation] Screen
The status of the CA port and the installation progress of the SFP are displayed.
Status Check
| Item | Description |
|---|---|
|
CA Port |
The CA port number is displayed. CM#x CA#y Port#z x: CM number y: CA number z: Port number |
|
Progress |
The installation progress (0 to 100 %) of an SFP is displayed. |
|
Status |
The CA port status is displayed. Refer to "Component Status" for details. |
[Status Check] Screen
The status of the CA port and the installation progress are displayed.
Status Check
| Item | Description |
|---|---|
|
CA Port |
The CA port number is displayed. CM#x CA#y Port#z x: CM number y: CA number z: Port number |
|
Progress |
The installation progress (0 to 100 %) of a CA port is displayed. |
|
Status |
The CA port status is displayed. If the CA port does not have an SFP, "Unconnected" is displayed. Refer to "Component Status" for details. |
[Finish] Screen
A message that indicates the CA port was added successfully is displayed.
Operating Procedures
Click [Add Channel Adapter Port] in [Action].
→ The [Start] Screen appears.
Click the [Next >>] button.
→ The displayed screen may vary depending on whether the installation of license key is required or not.
When the license key is not registered:
→ The [Register license of additional Channel Adapter Port] Screen appears. Proceed to Step 3.
When the license key is already registered:
→ The [Workflow] Screen appears. Proceed to Step 4.
Input the license key, and click the [Next >>] button.
→ The [Set License Key] Screen appears. The [Workflow] Screen appears after the registration of the license key is complete.
Add the CA port according to the displayed procedure and click the [Next >>] button.
→ The operations and displayed screen vary depending on the host interface type that is used.
-
For FC, 10G iSCSI, or 10G-NAS host interfaces:
→ The installation of the SFP starts and the [Check SFP Installation] Screen appears.
After the installation of the SFP is complete (when the CA includes an SFP), the installation of the CA port starts and the [Status Check] Screen appears.
After the installation of the CA ports is complete, the [Finish] Screen appears.
-
→ The CA port installation starts and the [Status Check] Screen appears.
After the installation is complete, the [Finish] Screen appears.
-
Click the [Done] button to return to the [Channel Adapter] screen.